Your Cart is Empty
 Free Shipping
Enjoy the convenience of free shipping on all orders. We believe in transparent pricing and delivering value straight to your doorstep. read more...
 30-Day Money-Back Guarantee
Shop with confidence knowing you have a full 30 days to try our products. If you're not completely satisfied, return your purchase for a full refund, no questions asked. read more...
 2-Year Warranty
We stand by the quality of our products with an industry-leading 2-year warranty. Enjoy peace of mind knowing your vlogging and podcasting equipment is covered against defects and issues. read more...
 Lifetime Customer Support
Our commitment to you doesn't end at purchase. With lifetime customer support, you can reach out to our expert team anytime for help, advice, or troubleshooting, ensuring you always get the best performance from your gear. read more...
Filmmakers of all skill levels know that using a high-quality microphone is essential. Today, we’re here to teach you how to use lavalier microphones in your filmmaking process.
Filmmakers of all skill levels know that using a high-quality microphone is essential. The sound quality of your video can make or break its success. If people can’t understand the people speaking, they will likely become frustrated or bored and stop watching. Using a microphone that produces bad sound quality also makes you look unprofessional as a videographer and makes it more difficult to convince people to take your projects seriously. Understanding different types of microphones and when to use them will vastly improve your skills and your final video projects. Today, we’re here to teach you how to use lavalier microphones in your filmmaking process.
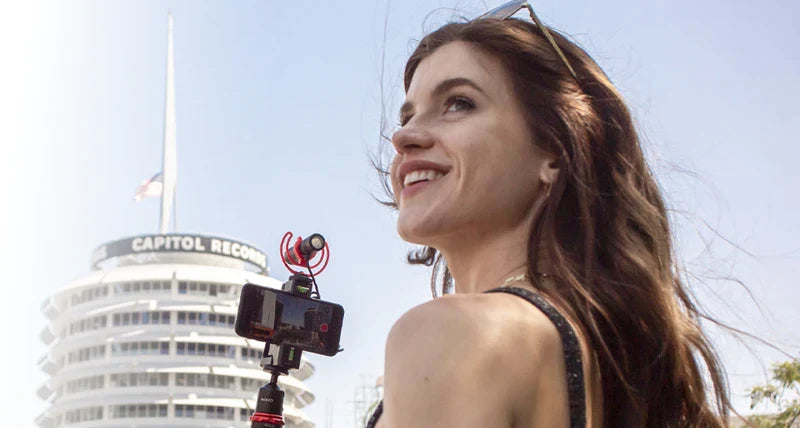
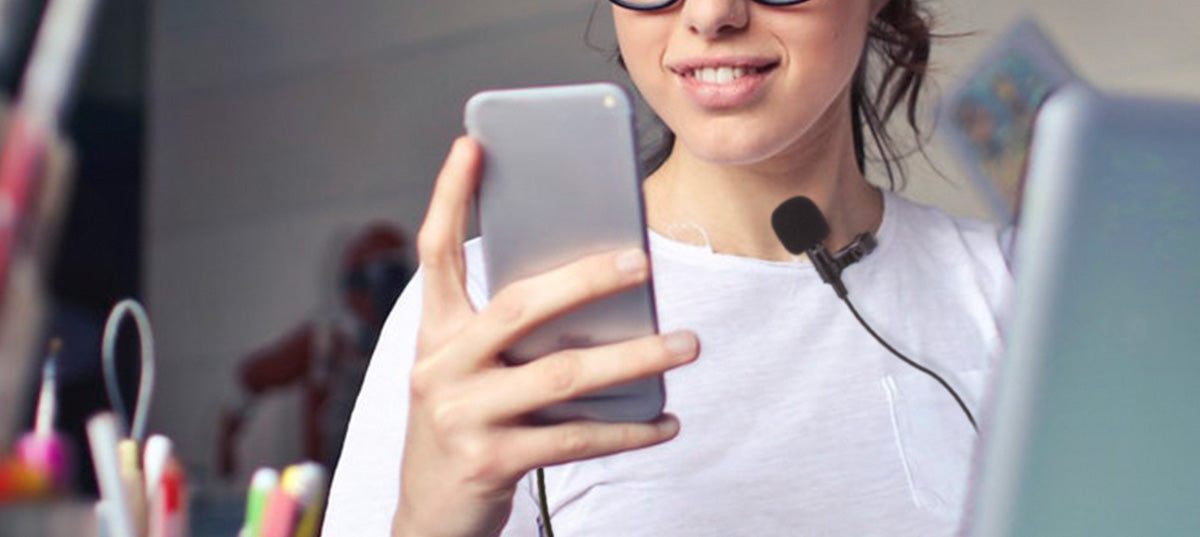
A lavalier microphone, also called a lav mic, is one of the most commonly used mics in any kind of video-making industry. There are both pros and cons to using this device, and it’s important to understand how it works so you can determine which scenario requires a lavalier mic and which calls for a different type. The lavalier microphone is a very small device that can be clipped to an actor’s shirt, allowing him or her to walk around the scene while still capturing the audio. It is often clipped to the speaker’s collar or shirt to keep the mic near their mouth and easily pick up sound.
Because the lavalier microphone can be placed close to the speaker without the use of a boom pole, the sound quality can be much better. The microphone is placed directly on the person in the scene and allows them to move around without needing a boom operator to follow them through the scene. Although the sound quality of the speaker’s words will be better, lavalier microphones are usually omnidirectional, meaning that they pick up sounds in every direction–not just the direction they are pointing. Unfortunately, due to this design, lavalier mics can pick up unwanted background noise. This is something you should definitely keep in mind if you’re filming in a noisy area.
Due to its small size and wireless options, lavalier microphones make it incredibly convenient for your sound crew. You no longer have to lug around boom poles and try to set up the perfect spot to catch the exact audio you need. It can be difficult for a boom operator to navigate a scene while trying to keep the microphone the exact same distance away from the speaker to ensure that the sound quality doesn’t change. This also places a challenge on your actor as he or she may feel restrained by the boom mic and not walk around the scene as naturally. When you use a lavalier microphone, all of these issues are eliminated and the speaker’s words are transmitted directly into the mic that is clipped to their body.
With a lavalier microphone, you no longer need to plan out where the actor will be in the frame and how the boom operator will move around the scene with him or her. However, you do still need to mount the mic. This is the process of sticking the mic to your subject’s body but keeping it out of sight from the camera (unless you’re doing an interview and you don’t mind the mic in the frame).
The best place to secure the mic is around the speaker’s sternum. This area will capture the sound well without being too close or too far. You can also easily clip the lavalier mic to his or her shirt. Then, use skin-safe adhesive tape to secure the mic. Most people recommend having the wire run down the back of the person’s body to make it more difficult to spot on camera. Let your subject know where the mic will be and how you’re going to mount it to ensure that they feel comfortable.
As we mentioned before, the lavalier microphone can sometimes pick up additional unwanted noises. Much like with a boom mic, lav mics have small, fur-like attachments that you add to try and reduce that background noise. We recommend putting this one on before mounting the camera and then try a few audio tests to check the sound quality.
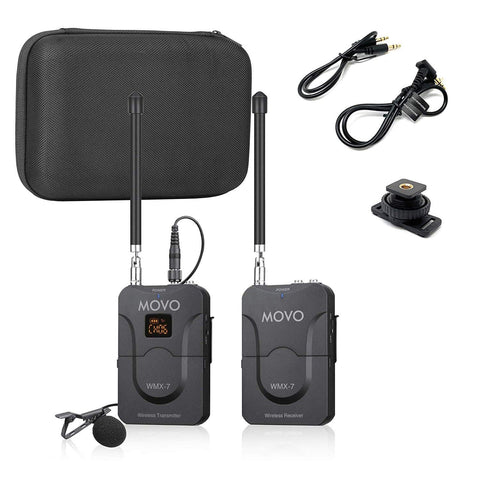
Whether you’re trying to become a serious filmmaker or you’re just experimenting as a hobby, you’re still going to need some high-quality equipment. Movo has an extensive selection of lavalier microphones for all of your needs. These mics are the perfect accessory to have for shooting videos with a lot of movement, and some of our packages even include multiple mics or aux cables to connect directly to your iPhone. Check out our extensive collection of lavalier microphones to find the one that's right for you.


We’re a team of creators and entrepreneurs who proudly support the content creation community through innovative, high-quality products that let you do you. From filmmakers to photographers, vloggers to podcasters, and beyond, Movo helps you share your creative voices across countless mediums and content platforms everywhere.